Easy Lemon Bars Recipe: Perfect Shortbread Crust & Tangy Filling
Few desserts capture the essence of sunshine and comfort quite like classic lemon bars. With their vibrant, tangy lemon filling and rich, buttery shortbread crust, they’re a timeless treat that brings smiles to every face. Whether you're a seasoned baker or just starting your culinary journey, this easy lemon bars recipe is designed to deliver perfectly balanced, utterly irresistible results every single time. Forget complicated techniques or overly sweet concoctions – we’re focusing on simple pantry staples and the unparalleled flavor of fresh lemons to create a dessert that will have everyone asking for your secret.
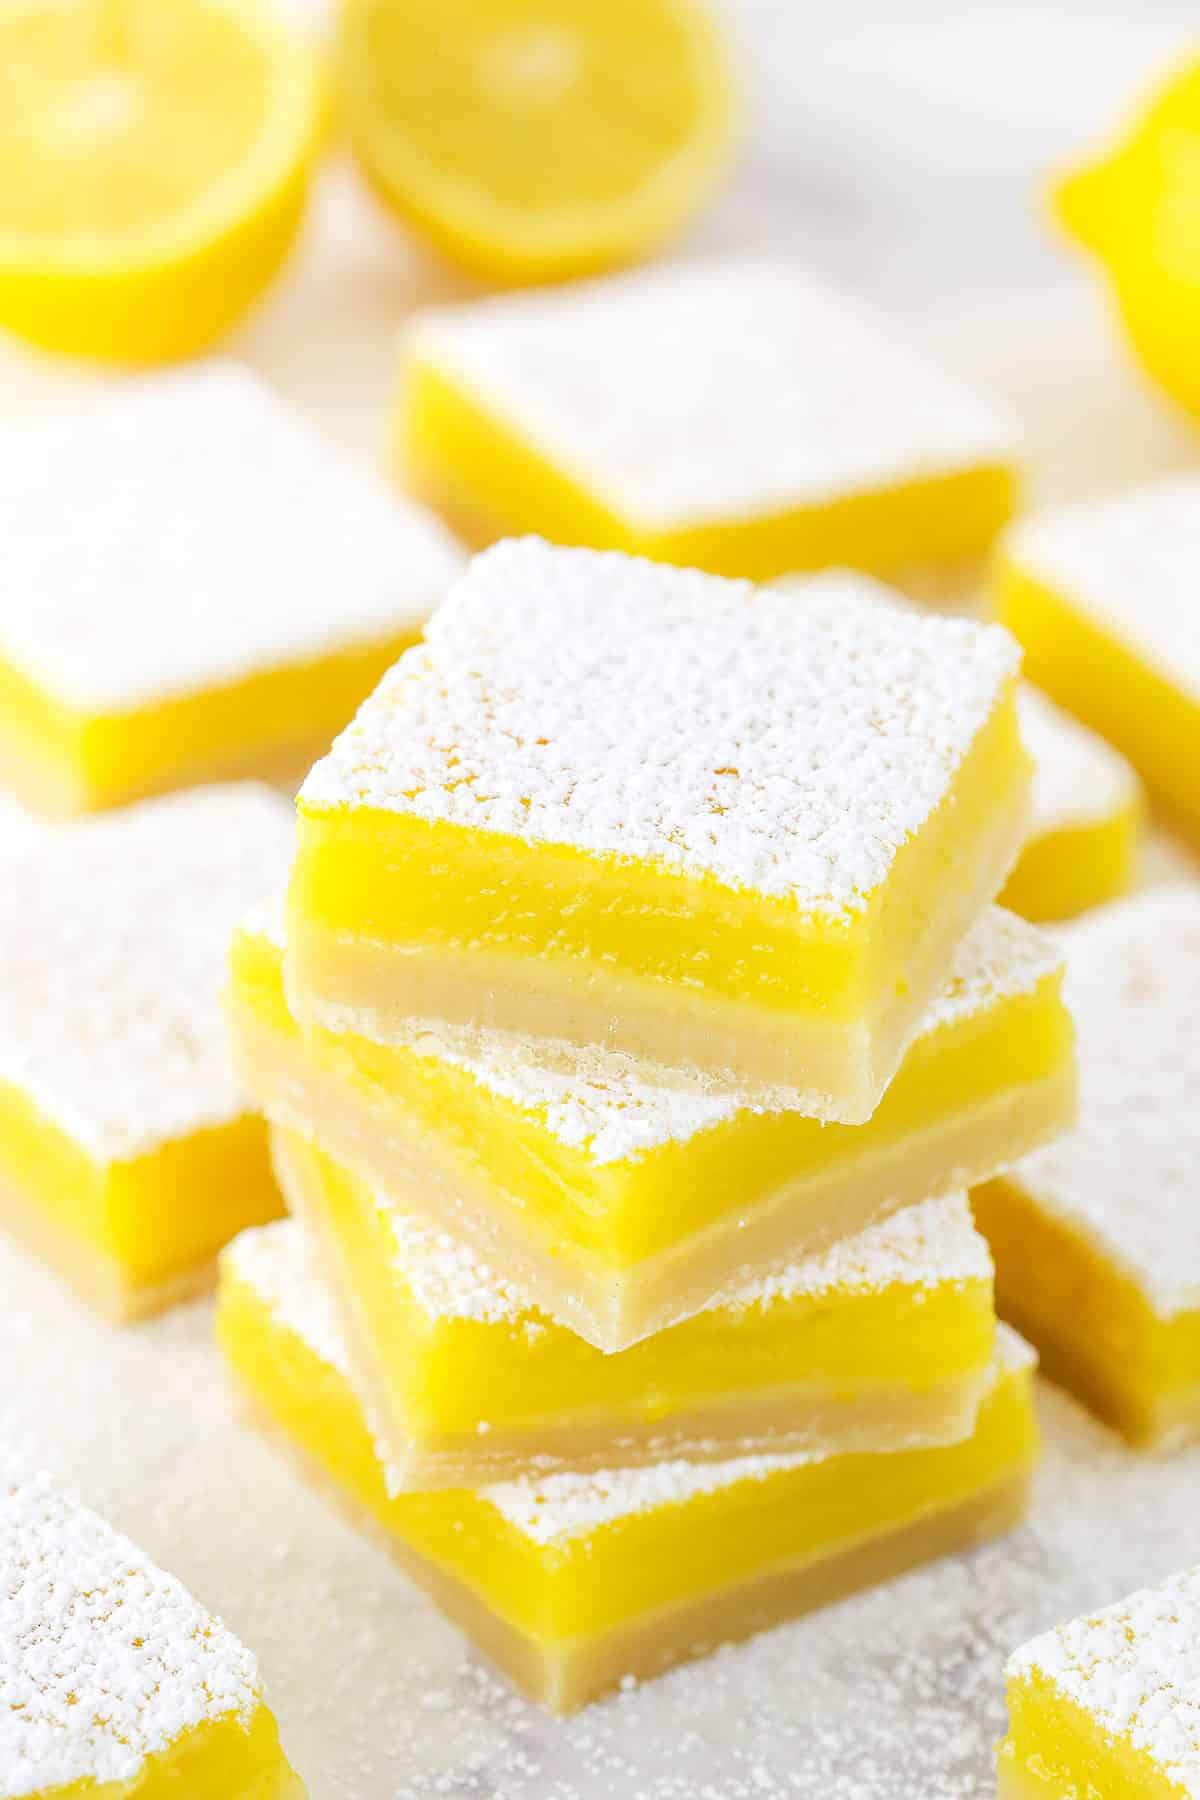
From backyard barbecues to elegant dinner parties, these homemade lemon bars are a go-to dessert for a reason. They transport beautifully, keep well, and most importantly, everyone adores the combination of a melt-in-your-mouth shortbread base topped with a silky, zesty lemon custard. This recipe truly embodies the spirit of a classic, elevating simple ingredients into something extraordinary.
The Anatomy of a Perfect Lemon Bar: Crust & Filling Explained
The magic of an exceptional lemon bar lies in the harmonious interplay between its two distinct layers. Achieving that coveted balance between a sturdy yet tender crust and a bright, smooth filling is key to a truly unforgettable dessert experience.
The Irresistible Shortbread Crust
Our journey to the perfect lemon bar begins with the foundation: the shortbread crust. This isn't just any base; it's a thick, buttery marvel that practically melts in your mouth. Composed of just three simple ingredients – butter, all-purpose flour, and powdered sugar – it’s a testament to how humble components can create something profoundly delicious. The powdered sugar, in particular, is a game-changer here, contributing to a finer, more tender crumb than granulated sugar would, while also dissolving more completely for a truly smooth texture.
We'll pre-bake the crust until it's lightly golden. This crucial step prevents the crust from becoming soggy once the lemon filling is added, ensuring it maintains its delightful crispness and buttery flavor even after chilling. Think of it as creating a perfect, golden-brown canvas for our zesty masterpiece.
The Zesty, Tangy Lemon Filling
The star of the show, of course, is the lemon filling. This isn't just any lemon curd; it's a vibrant, intensely flavored custard that strikes the ideal balance between satisfying tang and just the right amount of sweetness. Made with fresh lemon juice, plenty of lemon zest, eggs, and sugar, it’s a symphony of bright, citrusy notes. The eggs provide structure and richness, while the sugar tempers the lemons' natural tartness without overpowering it, allowing the fruit's true essence to shine through.
What truly sets this filling apart is our "no-fail" baking method. It ensures the custard sets perfectly every single time, yielding a silky, firm texture that slices beautifully without becoming rubbery or runny. It's a testament to careful ingredient ratios and precise baking that guarantees success, even for novice bakers.
Why Fresh Lemon Zest is Your Secret Weapon
While fresh lemon juice is undeniably essential, the real flavor secret behind truly outstanding lemon bars lies in the zest. Many recipes overlook the power of zest, but we embrace it as our most potent weapon for deep, vibrant lemon flavor. Here’s why:
- Essential Oils: Lemon zest is packed with aromatic essential oils that carry the most intense and complex lemon flavor. Unlike the juice, which provides tartness and some flavor, the zest offers a concentrated burst of pure citrus essence.
- Infusion Technique: Our recipe takes this a step further by showing you how to "infuse" the sugar with the lemon zest. By rubbing the zest into the sugar before adding other ingredients, you release these essential oils, allowing the sugar crystals to absorb and carry that incredible aroma throughout the filling. This simple technique amplifies the lemon flavor dramatically, giving the bars a much more profound and lingering taste.
- Depth Over Flatness: Relying solely on lemon juice or, even worse, artificial extracts, often results in a one-dimensional lemon flavor. The zest adds layers of brightness, a nuanced tartness, and a freshness that artificial flavors simply cannot replicate.
Pro Tip: Always use a microplane grater to zest your lemons. This tool ensures you get only the bright yellow outer layer, avoiding the bitter white pith underneath. For the best flavor, always use organic, unwaxed lemons if possible.
Step-by-Step Guide to Baking Your Best Lemon Bars Ever
Creating these delightful lemon bars is a straightforward process, but paying attention to a few key details will elevate your results from good to truly phenomenal.
Preparation is Key
Before you even think about mixing ingredients, proper pan preparation is crucial for easy removal and perfect slices. Line your baking pan (a 9x13-inch metal pan works best for even heat distribution) with parchment paper, allowing the paper to extend over the edges. These "handles" will make lifting the cooled bars out of the pan incredibly simple. If you're using a glass or ceramic dish, be aware that you might need to increase your baking time by a few minutes, as these materials conduct heat differently than metal.
Crafting the Buttery Crust
- Combine Ingredients: In a medium bowl, whisk together your all-purpose flour and powdered sugar.
- Incorporate Butter: Add cold, cubed unsalted butter to the dry ingredients. Using your fingertips or a pastry blender, cut the butter into the flour mixture until it resembles coarse crumbs. Be careful not to overmix; pea-sized pieces of butter are perfectly fine.
- Press into Pan: Press the crumbly mixture firmly and evenly into the bottom of your prepared baking pan. For an extra crisp crust, ensure it's packed tightly.
- Pre-Bake: Bake the crust in a preheated oven at 350°F (175°C) for about 15-20 minutes, or until it's lightly golden around the edges. This pre-baking step is vital for a firm, non-soggy base.
Whipping Up the Tangy Filling
- Zest Infusion: In a separate bowl, combine granulated sugar with plenty of fresh lemon zest. Use your fingers to rub the zest into the sugar for a few minutes. This releases the essential oils, intensifying the lemon flavor.
- Add Liquids: Whisk in the eggs one at a time until well combined, then add the fresh lemon juice and a touch of flour (this helps with the filling's texture and stability). Continue whisking until the mixture is smooth and uniform.
- Pour and Bake: Immediately pour the lemon filling evenly over the hot, pre-baked crust.
- The Second Bake: Return the pan to the oven and bake for an additional 20-25 minutes, or until the center is just set but still has a slight jiggle. The edges should be firm and lightly golden. Avoid over-baking, as this can lead to a rubbery texture.
Mastering the Slice: Tips for Picture-Perfect Lemon Squares
You’ve baked your beautiful lemon bars, and now comes the moment of truth: cutting them into those inviting, perfect squares. This step is often where bakers trip up, but with a few simple tricks, you can achieve bakery-quality slices every time.
- Cool Completely, Then Chill: Patience is your best friend here. Once the bars are out of the oven, let them cool completely at room temperature for at least an hour. Then, transfer the pan to the refrigerator and chill for a minimum of 3 hours – ideally longer, or even overnight. This chilling process is absolutely critical; it allows the filling to fully set and firm up, making clean cuts possible.
- Lift with Parchment: Remember those parchment paper "handles"? Now's their time to shine! Once thoroughly chilled, gently lift the entire slab of lemon bars out of the pan and onto a clean cutting board.
- The Hot Knife Trick: For the cleanest, sharpest cuts, use a long, sharp knife. For each cut, dip the knife in hot water and wipe it clean with a paper towel. This prevents the filling from sticking and dragging, giving you beautifully defined edges. Repeat for every single slice.
- Achieve Uniformity: To get truly professional-looking squares, measure your cuts. Start by trimming off any slightly uneven edges (chef's treat!). Then, cut the large rectangle in half lengthwise, and then cut each half into equal-sized pieces. For more advanced tips on how to achieve perfectly sliced squares without fail, explore our guide: No-Fail Lemon Bars: Achieve Perfectly Sliced Squares Every Time.
Dust with a light layer of powdered sugar just before serving for that classic, elegant finish. Store any leftover lemon bars in an airtight container in the refrigerator for up to 3-4 days. They taste even better the next day!
There you have it – a comprehensive guide to baking the most delightful and perfectly balanced lemon bars you've ever tasted. This easy lemon bars recipe combines a buttery shortbread crust with a vibrant, tangy filling, creating a dessert that’s guaranteed to impress. Whether you’re a long-time fan or just discovering the magic of this classic treat, follow these steps and savor the bright, zesty goodness. Don't be surprised if these become your new favorite go-to! For more delicious lemon dessert ideas and further tips, check out The Best Homemade Lemon Bars: Tart, Gooey & Easy Recipe.
